Yep, the Return of the Star Wars party. This time, for 10 year olds.
As the kids get older, I have been aware of things that Were Cool only a year ago, suddenly become Not Cool, or "for babies, mum!!". Luckily Son 1 was at home for Son 2's party, so I could ask "what did you want at your party?" without seeming like a clueless mum. I was already ahead of the curve, as at his party last year, we switched the format to an afternoon-early evening party time, and gotten take-away pizza as the hot food meal (MUCH cooler than party pies and chicken nuggets). So that was sorted and meant less foods to organise.
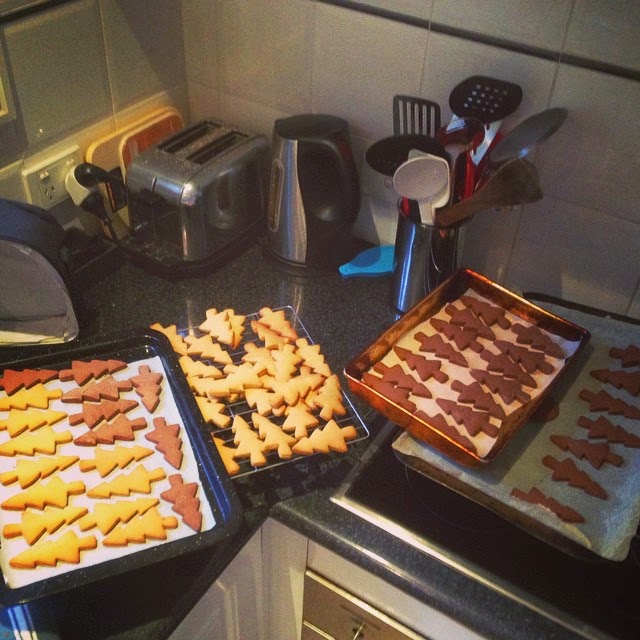
Also, amidst all the cool Christmas presents, we got a "Stormtrooper Cookie Kit" - packet mix cookie dough, white and black icing and a cookie cutter. Son 1 was very excited to be making these; I just had to get over my prejudice against Packet Mix (*sniff!* Mine made from scratch would taste Sooooo much better).

In their defence, the "just add water" instructions were pretty easy to follow. It was easy to roll out and cook (though only made 10 cookies).
 |
| Birthday Boy lending a Helping Hand |
I did use the black icing gel supplied in the box as it meant I didn't have to try and source or color black icing. * It worked well; the nozzle was quite small so gave a lot of control. I did try and be clever and make First Order trooper helmets as well, but they didn't look as good in my opinion). The lesson? Retro always looks good.
 |
| Same design reference, all different. They're like the Seven Dwarfs of Stormtroopers |
Galaxy Bread also made an encore appearance; you're never too old for THAT apparently.

For the cake, I felt it was time to stretch myself creatively; at least a little bit, in the confines of working and having a dinner the night before. A mini stretch maybe?
My girlfriend had her daughter's 4th birthday before Christmas and it was (as you would imagine for a girl that age) a Frozen theme. She had seen on Pintrest that people were using the Disney Infinity game pieces as cake decorations: not only did they look awesome but you could then play with them afterwards! We were quite happy to lend her ours (we are big Disney fans as well as Star Wars), and it looked very effective .
 |
| Frosting + fondant + snowflake cutter + candles = awesome cake |
I started well., with a rectangle cake and a heap of chocolate frosting. I quickly realised after my crumb coat that I had to ignore all the Rules of Frosting; forget all the skills I had developed over several years of decorating. This was meant to be a forest, and one where a lightsaber duel had been taking place. So no smooth edges and neat sharp corners, there needed to be lots of texture and uneven ground and piles of .... foresty stuff. So it was quite fun being very haphazard in my frosting application.

After leaving space for my figurines, I planted my mint-stick-tree-forest, complete with a few chopped off at shorter lengths, and a few fallen limbs here and there. Realising it needed a bit more texture to the terrain, I also chopped up a few pieces of chocolate to make rocks and boulders, and added any bit of cake that had fallen off to look like moss. Too much chocolate?? Never!**

We then had a blizzard of coconut (both shredded and dessicated for a more textured effect) over everything, before placing our heroes safely in their scene.
 |
| Top View |
 |
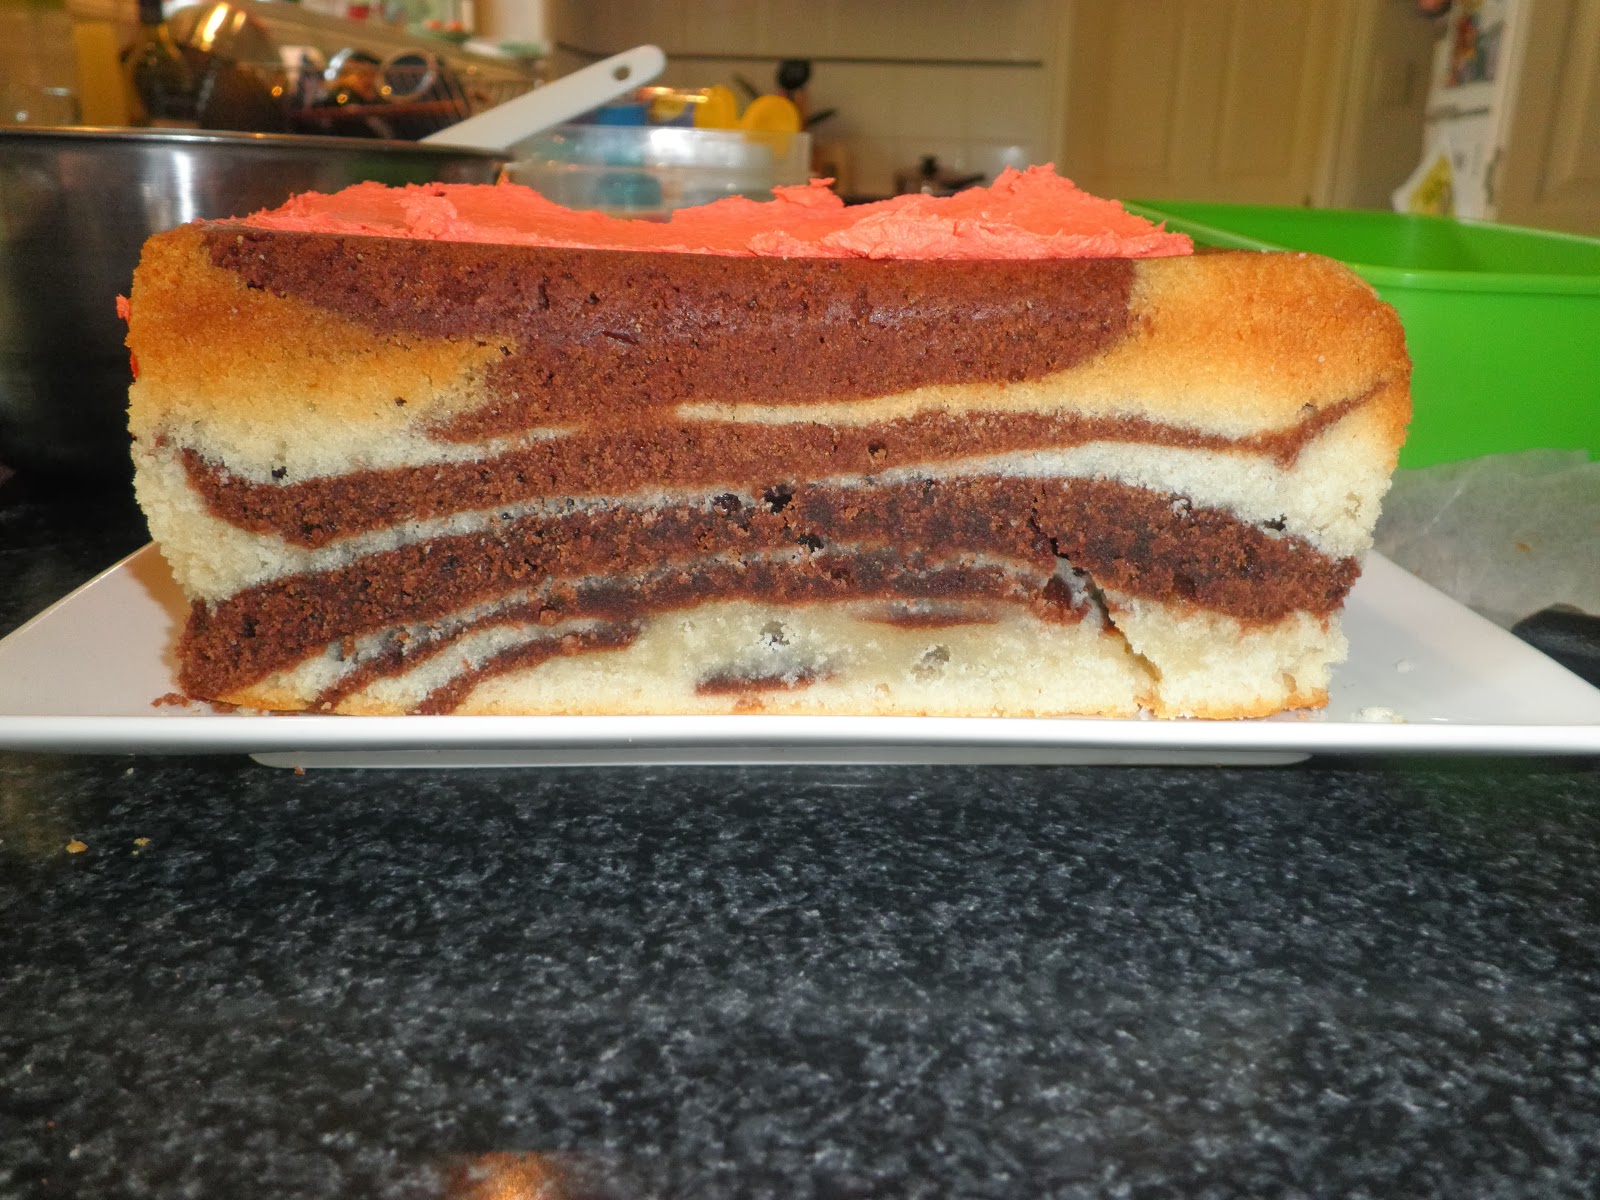
| Side View |
I must admit I was pretty happy how it turned out. Possibly because it was such a simple idea, and also because it was one that I was kind of making up as I went along. This does not always go well (there is usually lots of swearing and wishing I had drawn up a Plan), so it was nice to have an end product that vaguely resembled what I had in my mind.
I got a big "Cool!!" from the birthday boy and lots of other compliments which is always good. In fact the only drawback was one of the kids who "I don't like coconut!". It was alwasy a risk (at least it wasn't an "I don't like chocolate!"), so he got a piece of cake with the frosting shaved off.
So another successful Star Wars party. And as the next movie is due for release at the end of 2017, there's not harm in putting away ideas for what will be a 9th and 12th birthday party is there?!?!
* although I did realise afterwards that I had black chocolate melts in my cupboard that would have work well. Next time....
** here was another place where the black choc melts would have looked great - different colored rocks and boulders!!